Creating a Project in Odoo (Event Template)
Purpose
This Standard Operating Procedure (SOP) is designed as a handover guide for anyone creating a project template in Odoo for the first time. It ensures a step-by-step walkthrough that clarifies not only the how but also the why behind each action. The purpose of creating a project template in Odoo’s Project App is to connect event/workshop execution with billing (via Sales Orders) and to enable smooth tracking of progress for financial and technical reporting.
Step-by-Step
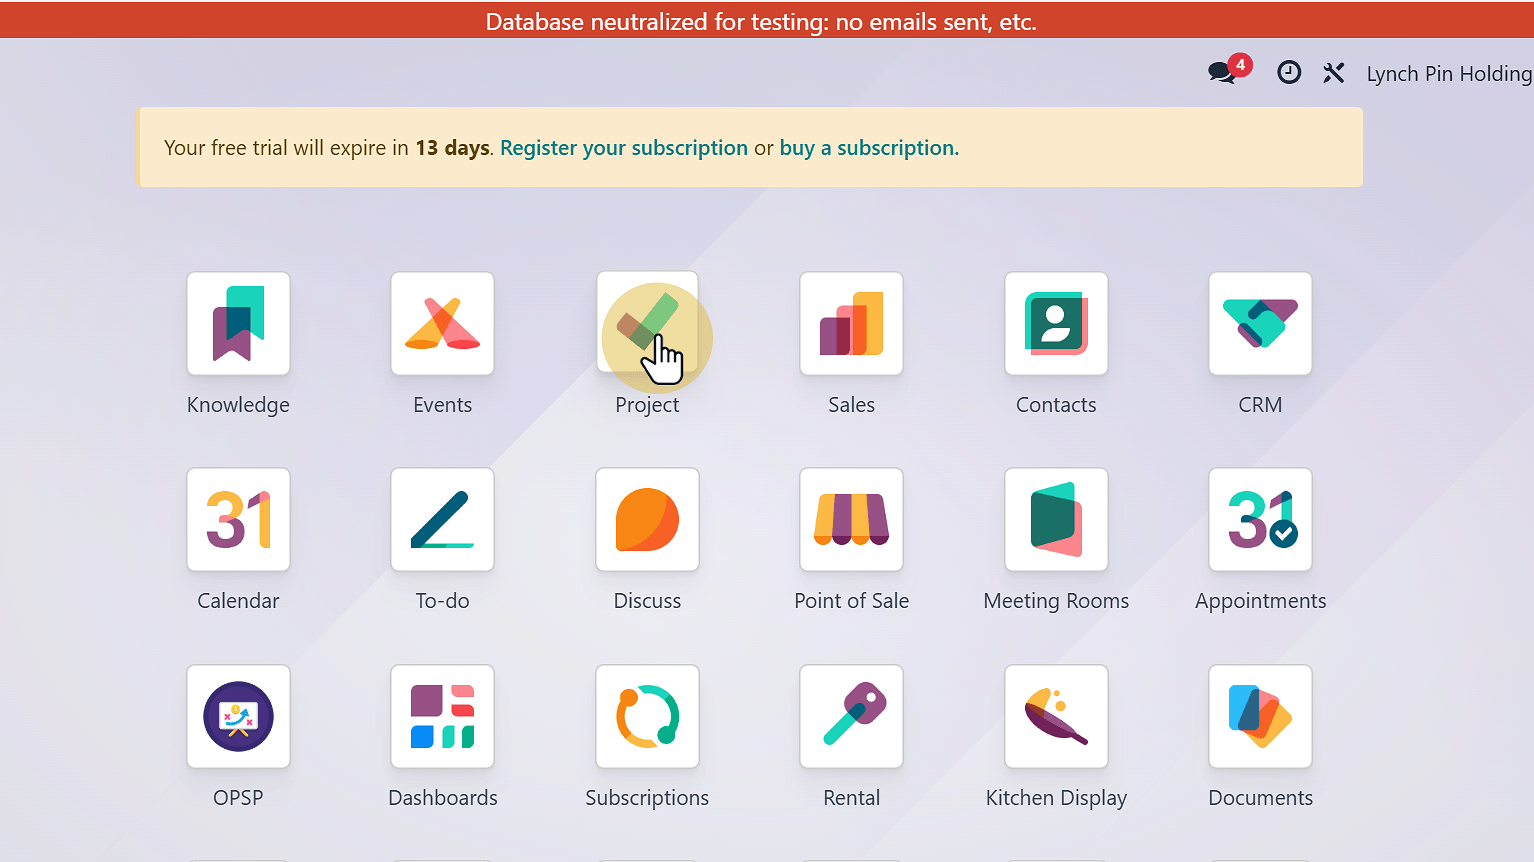
Step 1: Access the Project Module
Log in to your Odoo instance (e.g., https://www.lynch-pin.com/odoo).
From the main menu, navigate to Project.
Step 2: Unfold Kanban View
- In the Kanban View, unfold the hidden bar to reveal available project templates and categories.

Step 3: Search and Duplicate Event Template
Search for the Event Template.
Purpose: This template includes standardized tasks common to future events, saving setup time and ensuring consistency.
Click Duplicate to create a copy.

Step 4: Open Template Settings
After duplication, an Event Template (copy) will appear.
Click on the three dots (⋮) of the Event Template (copy) and select Settings.
This step allows renaming and configuring the template.

Step 5: Update Project Name
- Change the template name to match your event (e.g., Scaling Up, Conscious Culture).

Step 6: Assign Project Manager
In the settings, add the responsible person as Project Manager.
Search and assign the correct person.

Step 7: Add Tags
Use Tags to categorize the project.
Purpose: Tags improve searchability, enable easier reporting, and support back-end data organization.

Step 8: Insert Planned Dates
Define the Planned Start and End Dates.
Purpose: Planned dates ensure that events follow a structured timeline, help monitor progress, and keep deliverables on track.

Step 9: Project Settings (For Your Information)
Inside the Settings bar, you will see several options. Usually, when duplicating an existing template, all these are already configured by default. You do not need to reconfigure them unless you prefer to adjust settings for specific project needs.
Visibility
Adjust access rules based on confidentiality if required.
Example: Grant portal users access to a project by adding them as followers (without granting access to all tasks).
Create task by sending an email: Allows tasks to be generated from incoming emails to a project alias. Purpose: Enables clients, vendors, or team members without Odoo access to contribute updates.

Task & Time Management
Task Management: Organizes workflows, ensures accountability, and tracks task progress.
Time Management: Tracks resource allocation and hours spent to support productivity and billing accuracy.
Sales, Invoicing, Documents & Analytics
Purpose: Links projects to invoices for proper billing, centralizes event-related documents, and uses analytics for budget and cost tracking.

Step 10: Configure Analytic Account
Under Analytic, assign the relevant account (e.g., Conscious Culture).
Purpose: Analytic accounts connect project execution to financial tracking, ensuring that costs and revenues align with events.
Click the arrow icon to confirm the selection.
IMPORTANT: Do not skip these fields! Accurate completion is crucial as it directly impacts the backend of the financial and technical reports.

Step 11: Click Internal Link for Event
- After setting the Analytic account, click on the Internal Link to generate or link the project to the appropriate [Event].
- Purpose: This ensures the project is correctly tied to the backend reporting structure for events.

Step 12: Add Project Reference
- Insert the correct Reference to identify project type.
- Example: Use Events for events, LPU for LPU workshops.
- Purpose: References ensure accurate reporting, simplify searches, and maintain consistency across projects.
IMPORTANT: Do not skip these fields! Accurate completion is crucial as it directly impacts the backend of the financial and technical reports.

Step 13: Save Project
- After completing setup, click Save Manually to confirm.

Step 14: Move Template in Kanban View
- Navigate back to Projects.
- Open the newly renamed project (e.g., Conscious Culture) to review the pre-created tasks.
- After configuring the project (name, manager, tags, dates, etc.), drag the template into the appropriate stage in Kanban View.
- Example: For an upcoming event, place it in the Incoming stage.

Step 15: Manage Task Details
Inside the project, you can use the following icons:
Clock Icon ⏱: Allocate a timeline or schedule an activity (e.g., call, meeting, follow-up).
Star Icon ⭐: Mark tasks as high priority.

Step 16: Assign Tasks to People
- Use the People Icon 👤 to assign tasks to team members.
- Purpose: This ensures accountability and clear ownership of each task.

Step 17: Understand Task Components
Each task includes key elements:
Project Name: Connects tasks to the right project.
Milestones: Define major deliverables to measure progress.
Assignees: Assign ownership and accountability.
Tags: Improve categorization and filtering.
Deadline: Helps ensure timely task completion.

Step 18: Task Description — Simple Guidance
- Use the Description field to state the task objective, the key deliverables, and any immediate dependencies.
- Keep it concise so the assignee can act without extra clarification.

Step 19: Sub-Tasks — Simple Guidance
- Create Sub-Tasks when a parent task contains multiple distinct actions or owners.
- Each sub-task should be one clear action, assigned to one person, and have its own deadline. This helps tracking, ownership and time-logging for billing.

Step 20: Update Task Status in Kanban View
- Drag tasks between stages (e.g., Not Started, In Progress, Completed) to show progress.
- This gives a quick, visual way to track what is happening.

Step 21: Use Task Progress Indicators
- Circle Icon: Change colors to show task status.
- This helps everyone quickly see the health of tasks.

Step 22: Final Save
- When you finish making updates, click the Save button at the top.
- Always save to make sure your changes are not lost.
